Exploring the Car Tinting Process
Aug 4, 2017
If you've just booked an appointment to have your car windows tinted after choosing the right tint percentage for you or are considering it, you've probably wondered how exactly your installer will apply the film to the glass. It's an entirely different process from factory tinting, like your car's original manufacturer might've done.
Every make and model is unique, and film installers have to cut their film to the precise shape of your car windows and ensure it fits perfectly along the slight curve of the glass. It's a complicated process. Installers go through months of training before they're ready to give your ride the professional window tint installation it deserves.
How It All Happens
You did your research and made an appointment to have your car tinted by a reputable installer. Now, you may be wondering, "What exactly is going to be happening to my vehicle while I sit in the tint shop's waiting room?"
While most window tint installations follow the same basic process, individual installers often have their own unique methods of installing automotive tints, and their techniques may differ from this overview. Nevertheless, the installation technique we describe here is an excellent example of what's going on behind the scenes when you take your car to a professional window tinter.
Here's how a professional installs window tints.
Automotive Films1. Tinting Environment
When you arrive at the tinting shop, a technician will take your car to a wind- and dust-free space, usually a large indoor garage or an interior bay. Professional window glaze dealers regularly vacuum and clean this space to prevent contaminants from wedging themselves between the adhesive and the glass.
2. Prepping the Windows
The tinting professionals will remove dirt and debris and prep your car's windows on both sides with a solution of soap and water, a sponge and a squeegee. On the exterior side, the installer will also clean off the area on the door, hood or trunk just below the window. While prepping the film, they will move it below the window, so having a clean surface to work with is critical.
After wiping down the exterior and interior surface of the window, many installers give extra attention to the inner surface of the window, where the film will ultimately be installed. They'll spray the window down with soapy water again and use a razor blade to scrape off any dirt and debris. On new cars, this step also helps remove any sticker glue residue.
3. Measuring & Cutting
The installer will measure your car's windows and cut pieces of film from a master roll to fit those measurements. The film is then laid out on the exterior surface of the car window, where it's cut down more precisely. First, the installer ensures the bottom edge of the sheet is perfectly straight and aligned with the window. If it's not, they'll cut the edge with a blade.
Then, the professional installer cuts the film to the unique shape of the left and right sides of the window. They'll leave the top edge uncut for now.
Next, installers use a heat gun to heat-shrink the film. This step contours the flat sheet so it curves to the glass. Usually, the installer starts from the top and moves down, smoothing out irregularities in the sheet with a flat plastic scraper. Note that the heat guns for window glazing emit a low heat that doesn't harm the vehicle.
After it's perfectly smooth, the window film installer cuts the top edge of the material by rolling down the window slightly so they can align the blade with the top edge.
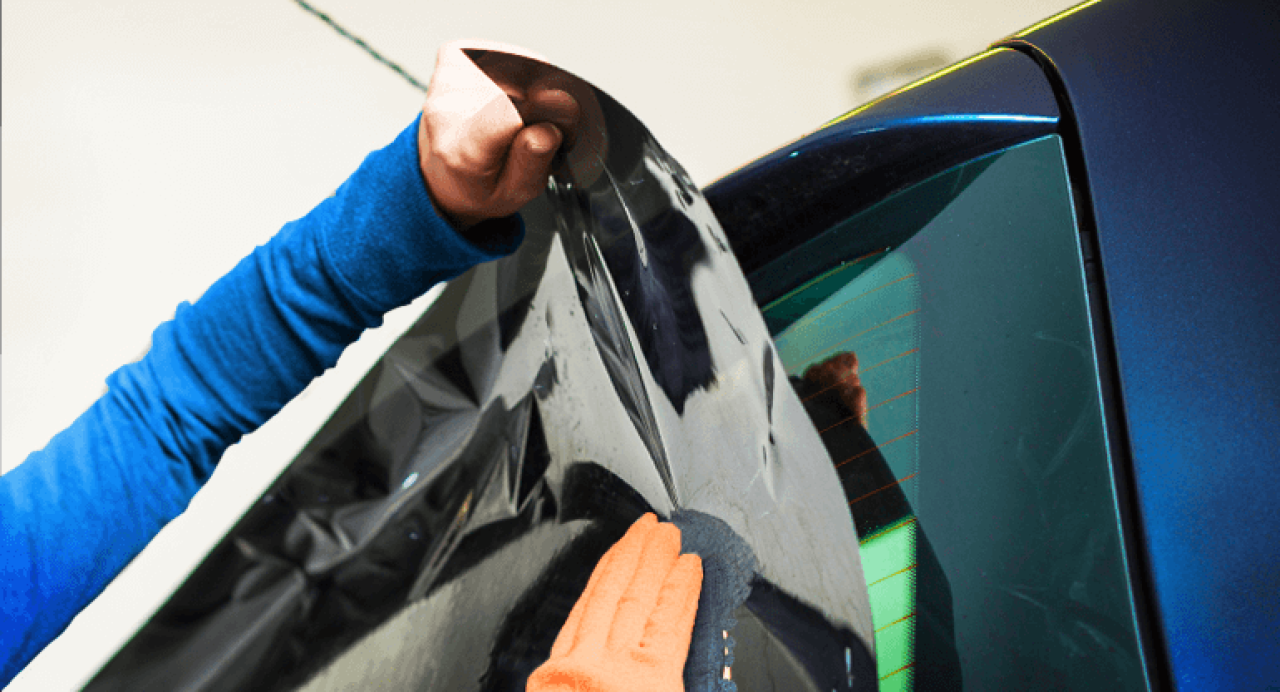
4. Peel Board
Once they've cut the film to the same shape as the window, installers will remove it and positionit on a pane of glass known as a "peel board" to refine the edges and carve out the finer details. One critical step to take during this stage of the process is to round out the corners. By rounding out the sharp edges on the corners, the installer ensures the film will not get caught or peel when the window rolls up and down.
The installer often removes the release liner during this step, too.
5. Installation
Once the film is properly sized and shaped, it's time to install it onto the window's interior surface. First, the tinting professional sprays soapy water onto the window alongside the film itself. This solution activates the film's adhesive and allows the sheet to glide along the glass until it's correctly positioned.
Then, if they haven't already, the installer peels off the release linerand applies the film to the window, adhesive side down. They'll use a squeegee to push out any excess solution under the film and press the film firmly to the glass to activate the adhesive that secures it to the window.
The installer also uses specialized plastic scrapers in different shapes to remove any bubbles, smooth out the edges and ensure the film is correctly inserted into the window's rubber lining. After the material is in place, they may also use the heat gun again to help dry the soapy water and further contour the film to the curve of the window.
6. Final Inspection
Lastly, the installers will take a critical eye to their work. They examine the window from both the outside and the inside to identify and smooth out any imperfections. They can use specialized scrapers to work out any bubbles or blemishes before the film's adhesive dries.
7. Dry Time
Once the tint job is complete, the installer will return your car and remind you to let the film dry for three days before you roll down your vehicle's windows. Depending on the film type and the weather conditions, it can take up to three weeks for the adhesive to completely cure. During this time, you may notice a hazy appearance or tiny water bubbles. That's normal and will go away once the adhesive dries.
You'll experience the benefits of your car's newly tinted windows right away. Enjoy your drive home, free from harmful ultraviolet (UV) rays, annoying glare and uncomfortable heat!
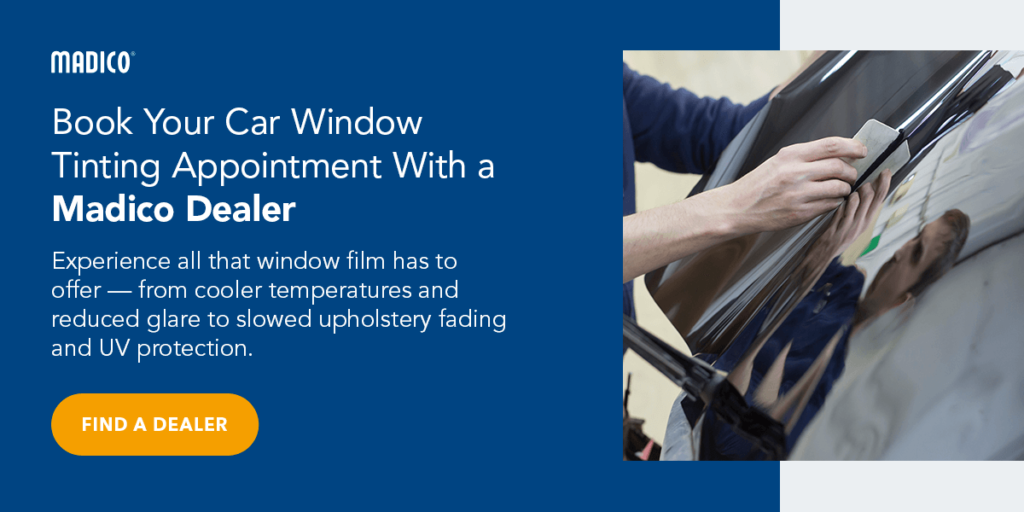
Find a DealerBook Your Car Window Tinting Appointment With a Madico Dealer
Once you know everything that goes into a proper tinted window glaze application, it's easy to see the benefit of working with an experienced professional. Madico dealers are masterful installers who treat automotive window tinting film application as a true craft. When you choose a Madico dealer, you also know that your tint will last for years to come. All Madico films come with a manufacturer's warranty in North America, so you can have peace of mind with your purchase.
Experience all that window film has to offer — from cooler temperatures and reduced glare to slowed upholstery fading and UV protection. Browse our selection of automotive window film to choose your favorite shade. To schedule an appointment to have tinted window glaze installed, contact your nearest Madico dealer today.